Before we dive into the three classic Flying Geese methods, I need to share something that has changed the game for me. Because let’s be honest: Most Flying Geese disasters don’t happen because we chose the wrong method. They happen because our points are… almost right.
Almost is not good enough.
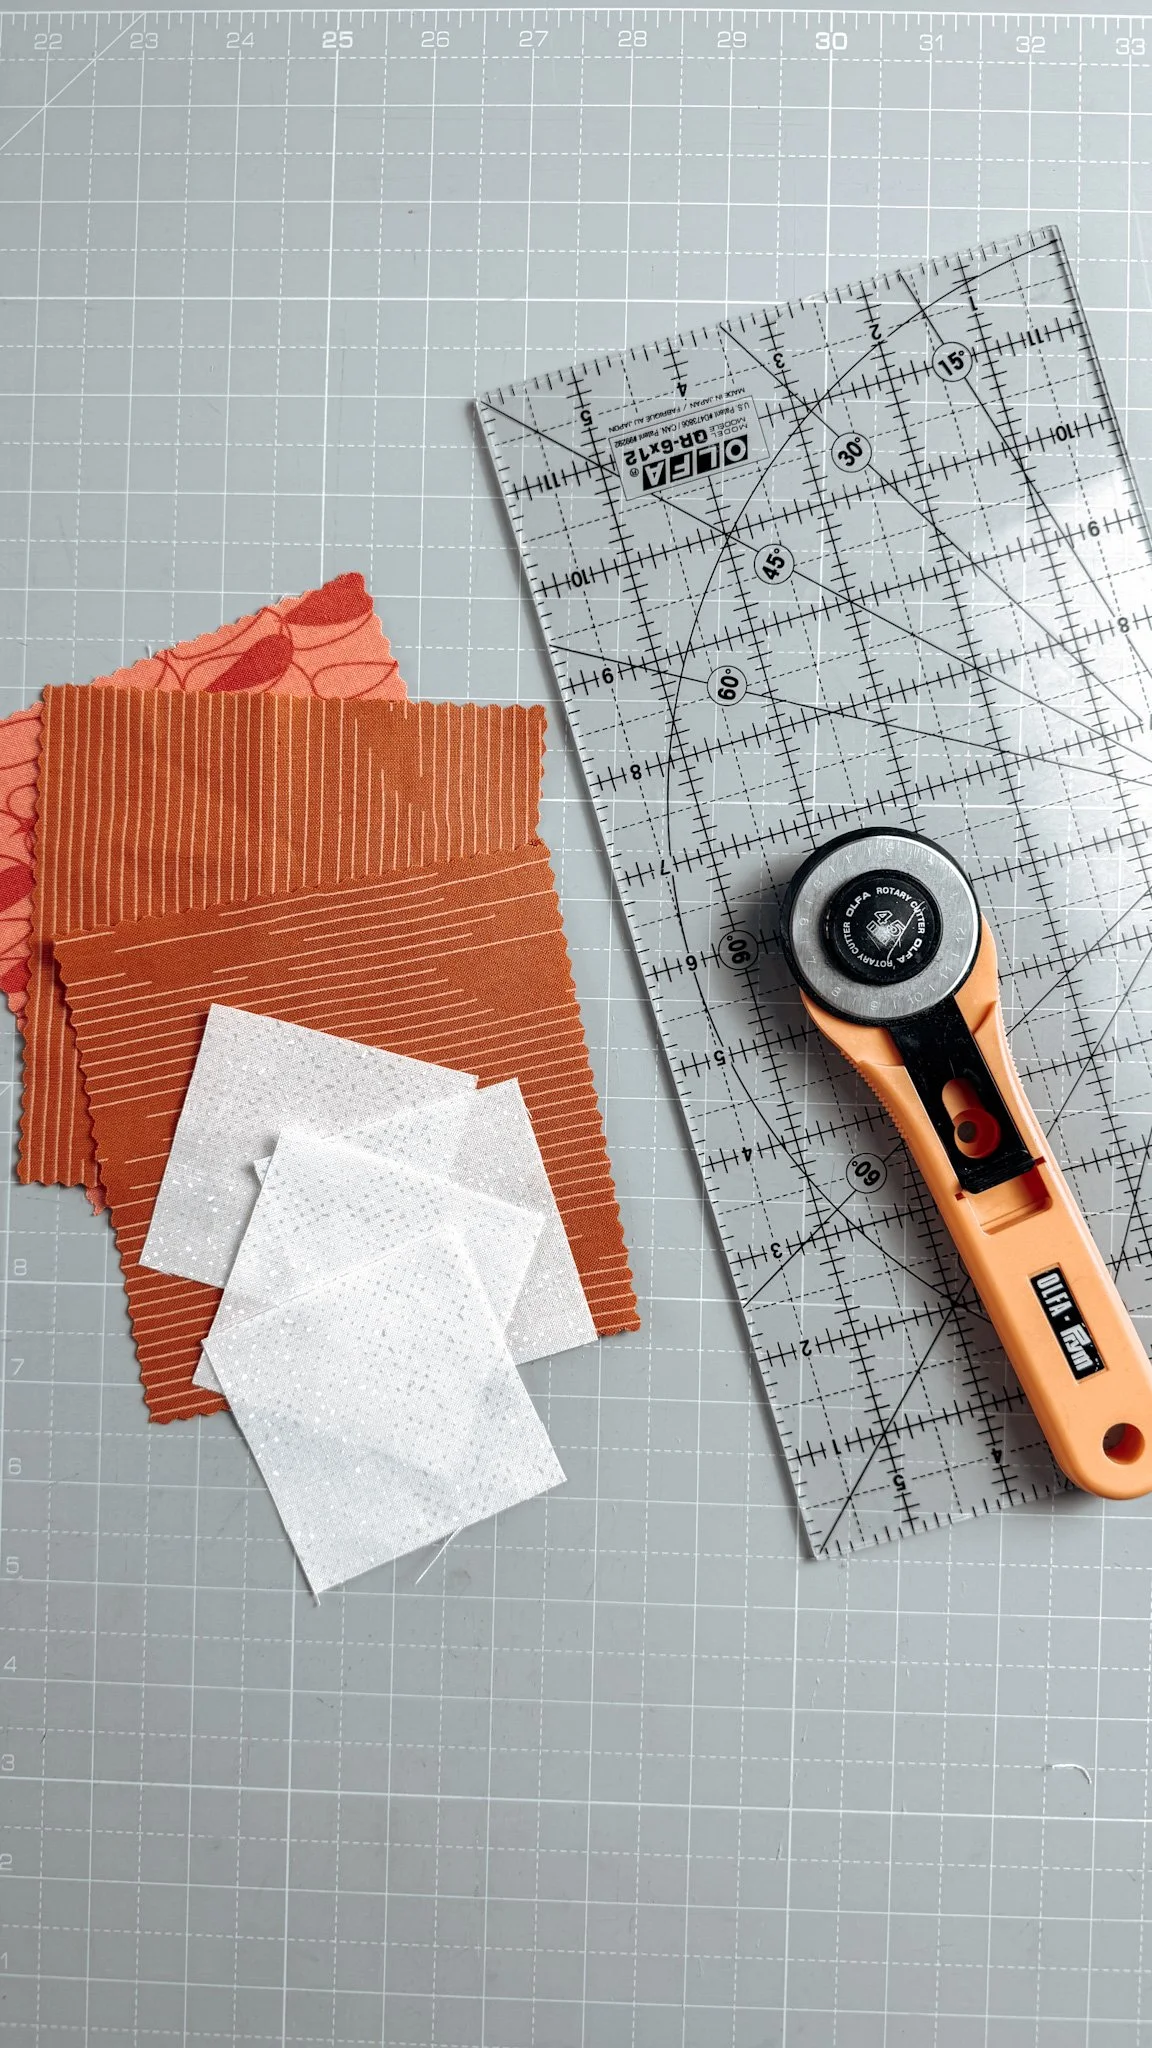
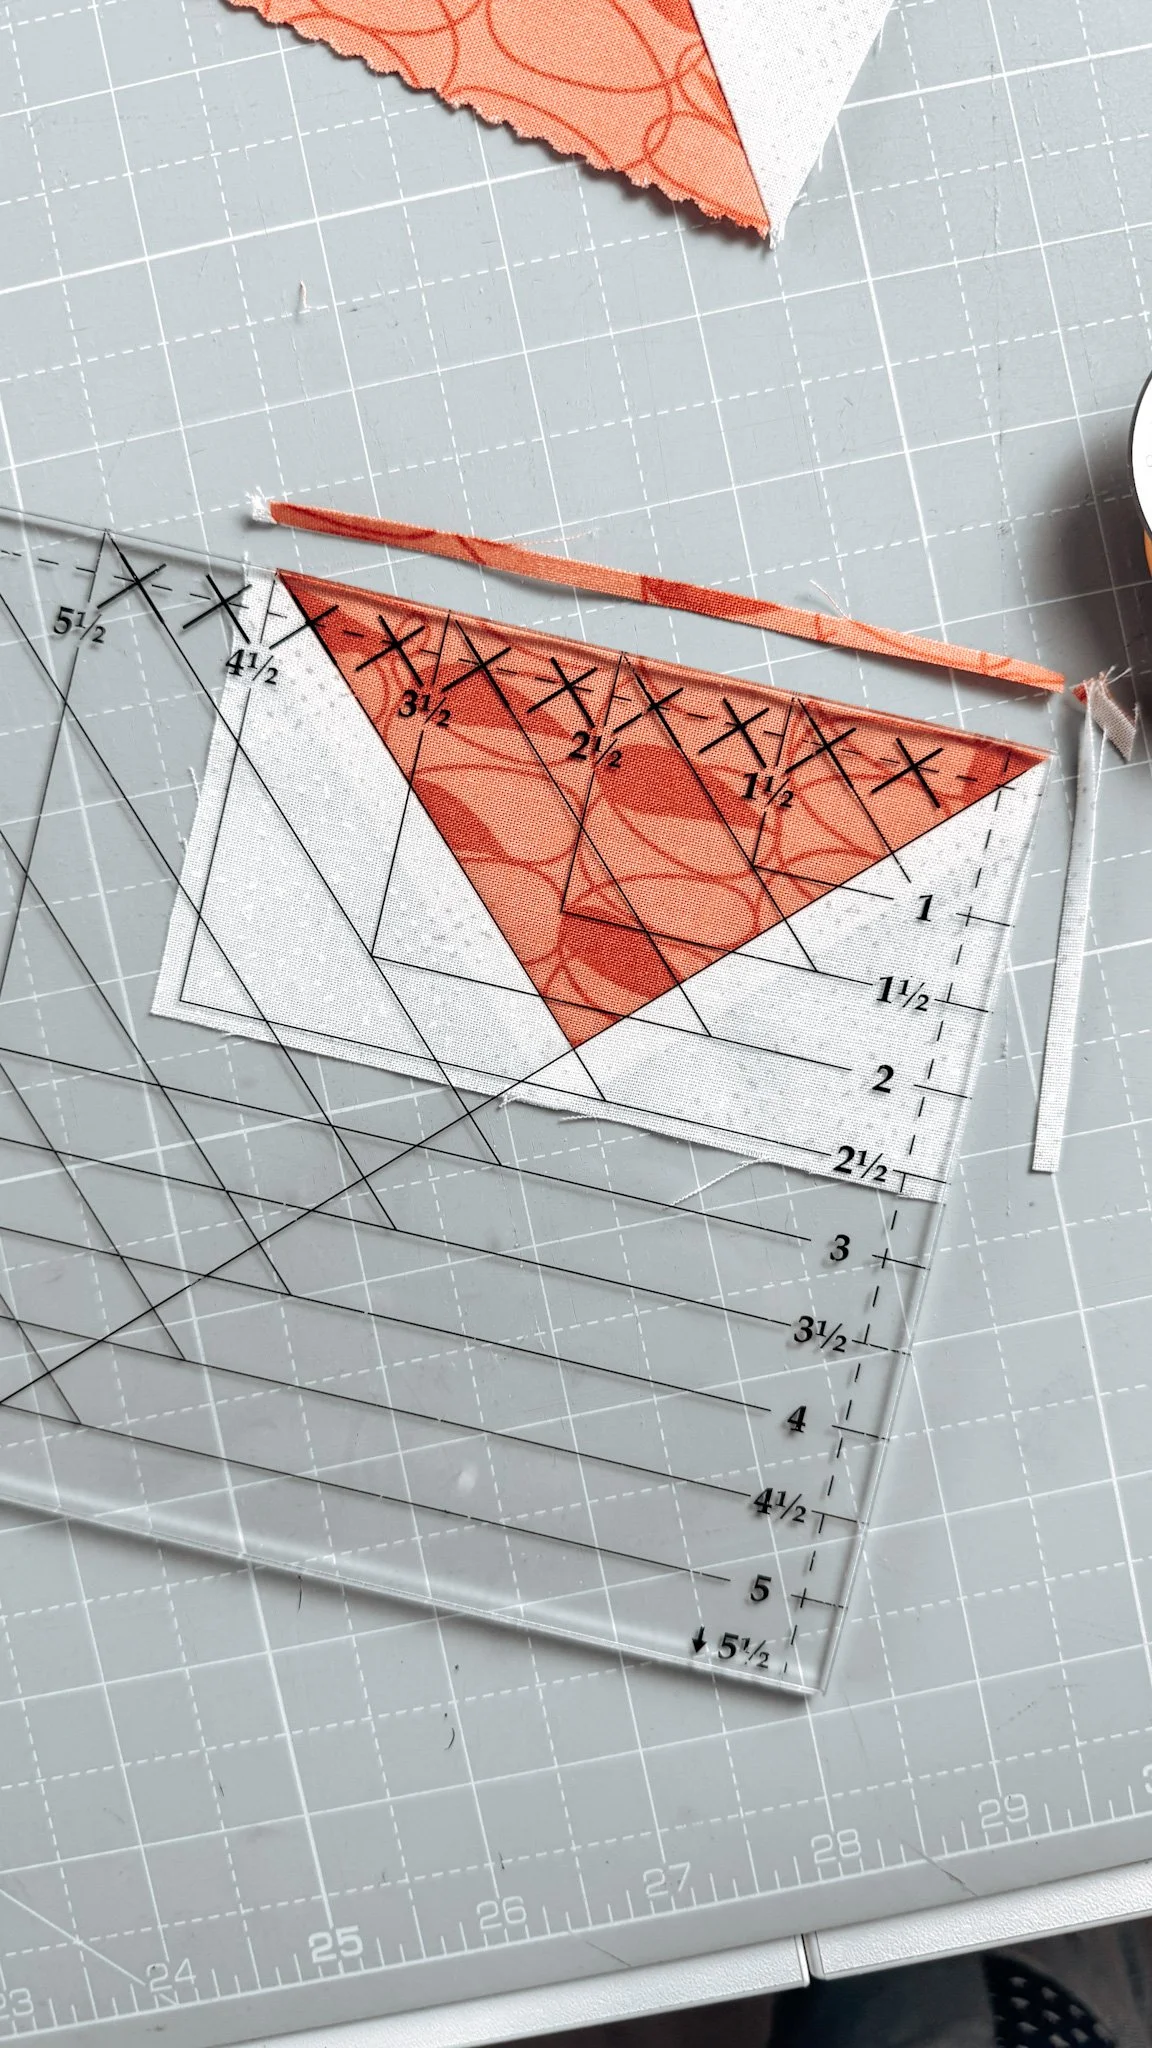
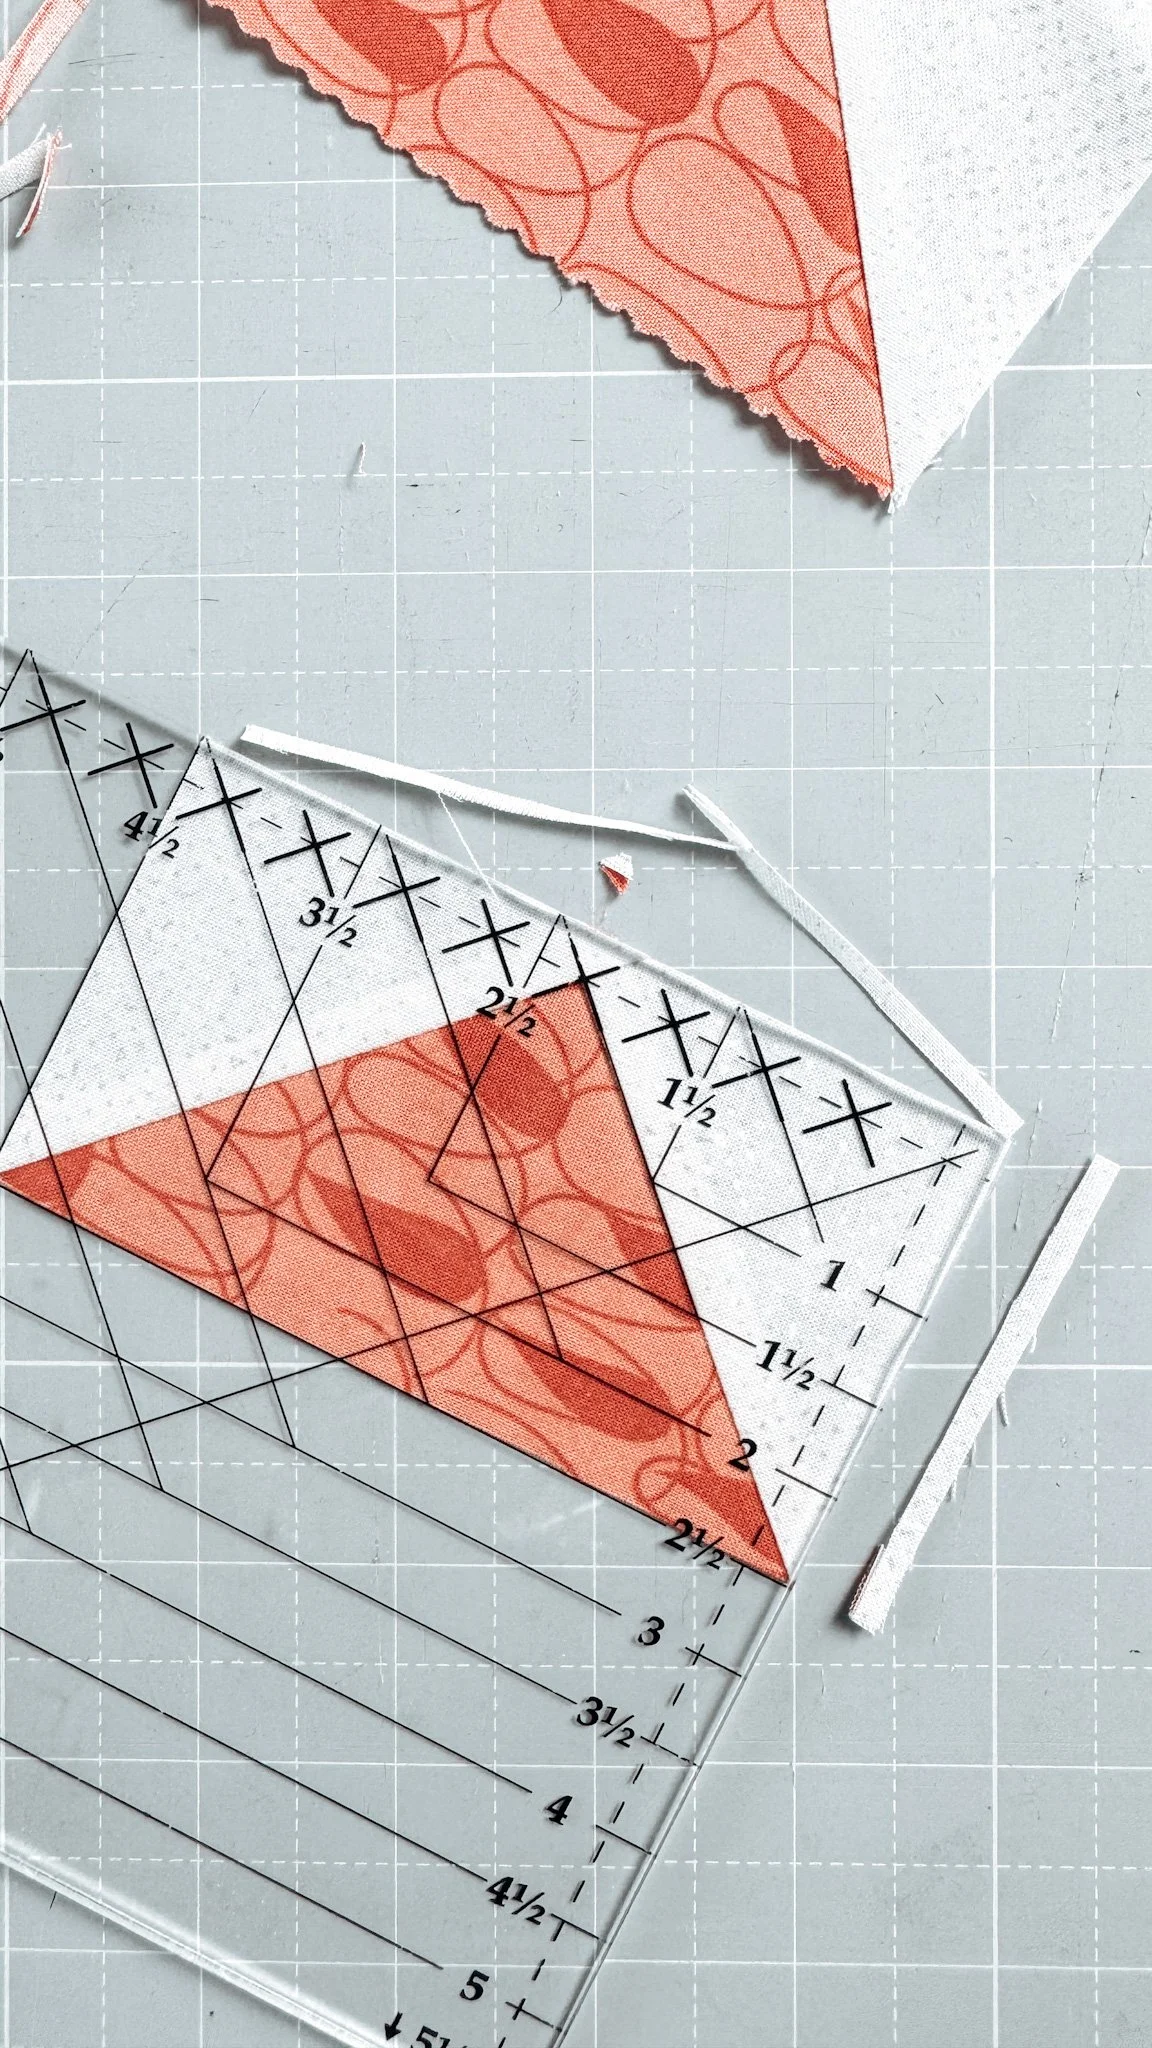
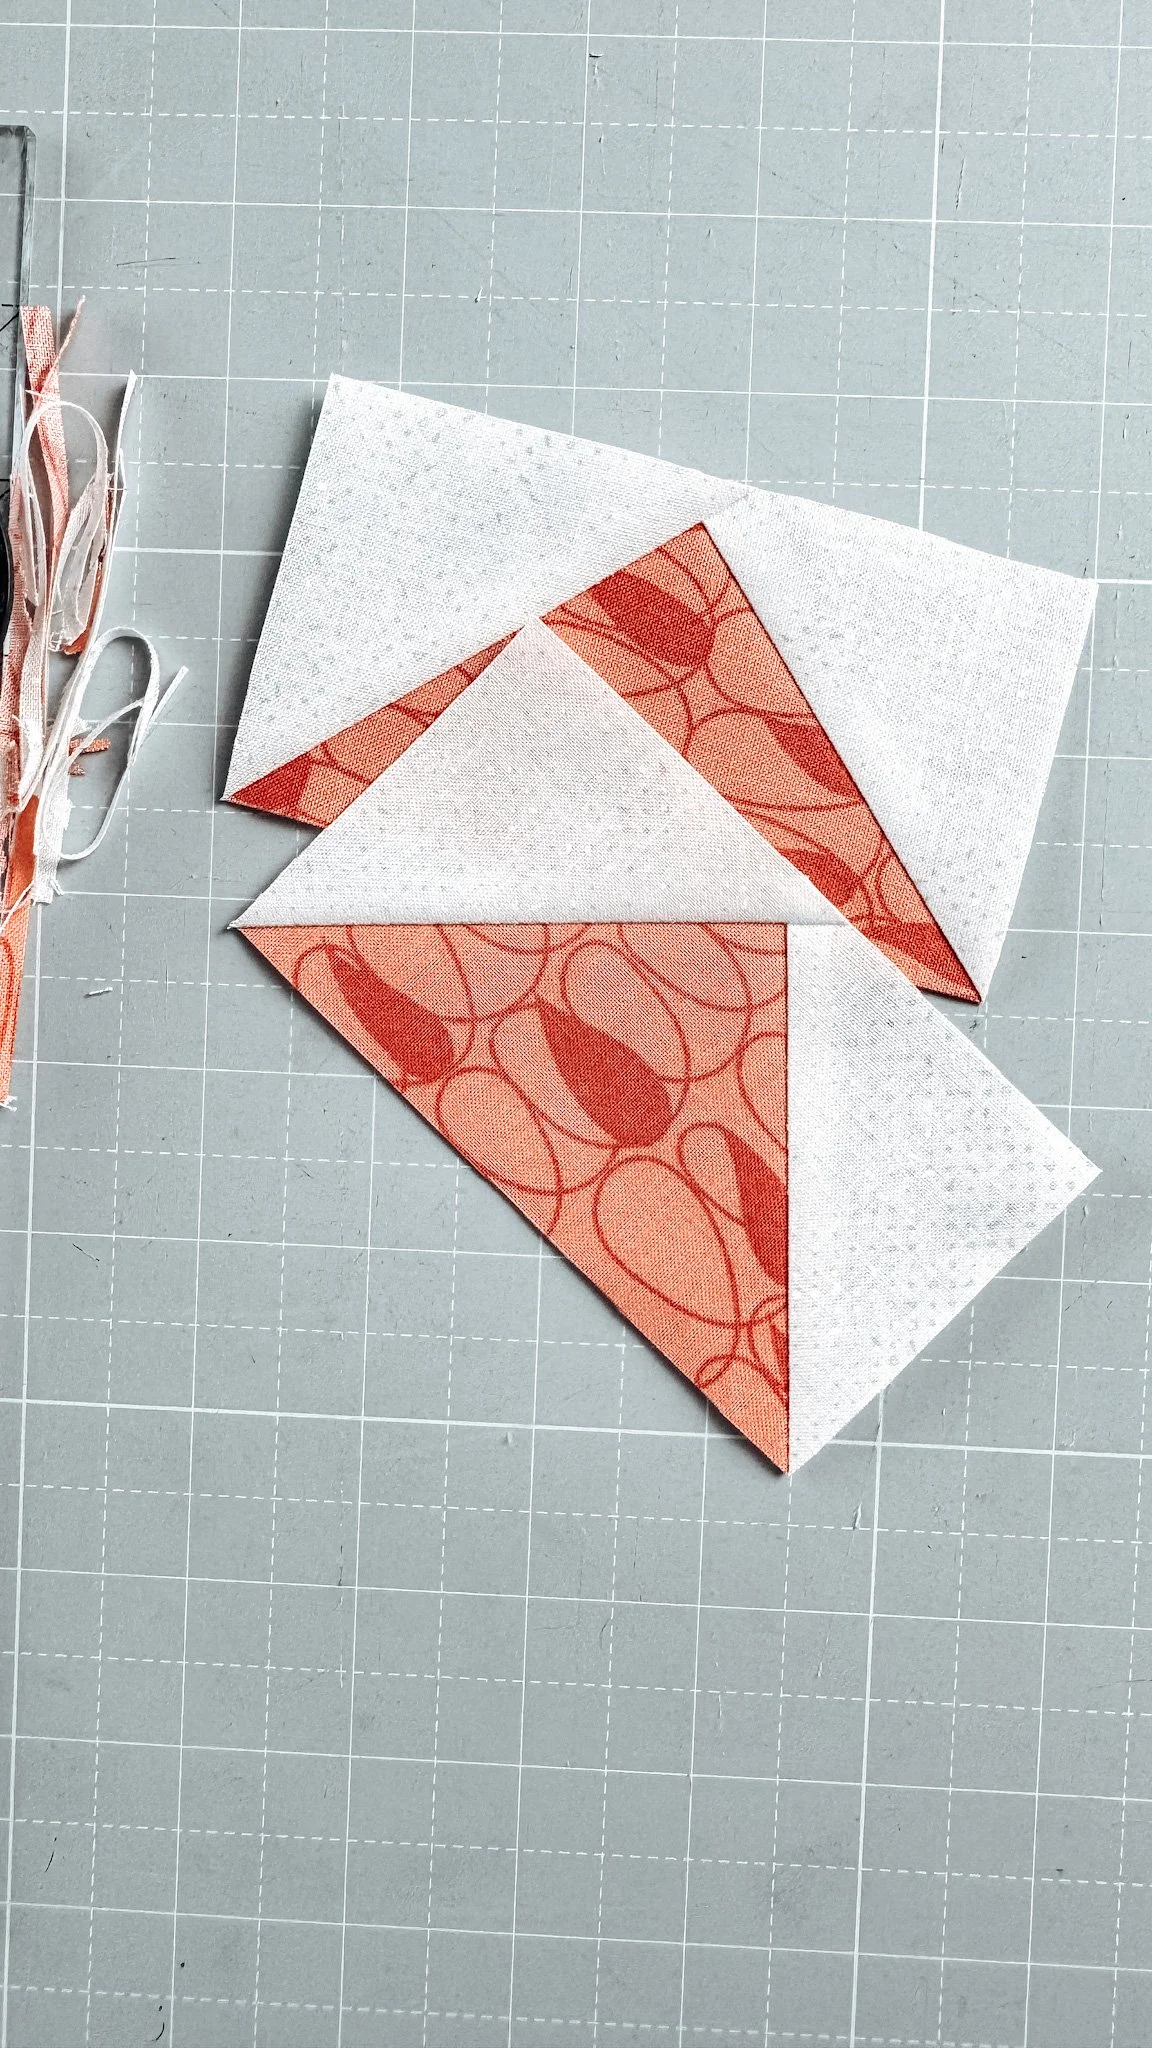
So here’s the trick. If you’re using the Flip & Stitch method, you probably learned to sew your diagonal seam and then immediately trim the excess fabric down to ¼″ before pressing.
But here’s what I do instead:
👉 After sewing the diagonal seam, I do NOT trim yet.
👉 I first flip the corner open.
👉 Then I gently fold that corner over so it lies exactly on top of the opposite corner of the rectangle — perfectly aligned, edge to edge, tip on tip.
👉 Then I press.
Only after pressing do I trim the excess fabric underneath to a ¼″ seam allowance.
Why does this work?
Because when those two corners are aligned perfectly, there is physically no way to create anything other than a true 45° angle — even if your seam was stitched just a hair off the marked line. The geometry corrects you. It’s like having built-in insurance for your points.
And suddenly your Flying Geese look sharp. Intentional. Precise.
No guessing. No “eh, close enough.”
Now — with that little precision upgrade in your toolbox — let’s look at the three main methods for sewing Flying Geese and when to use each one.
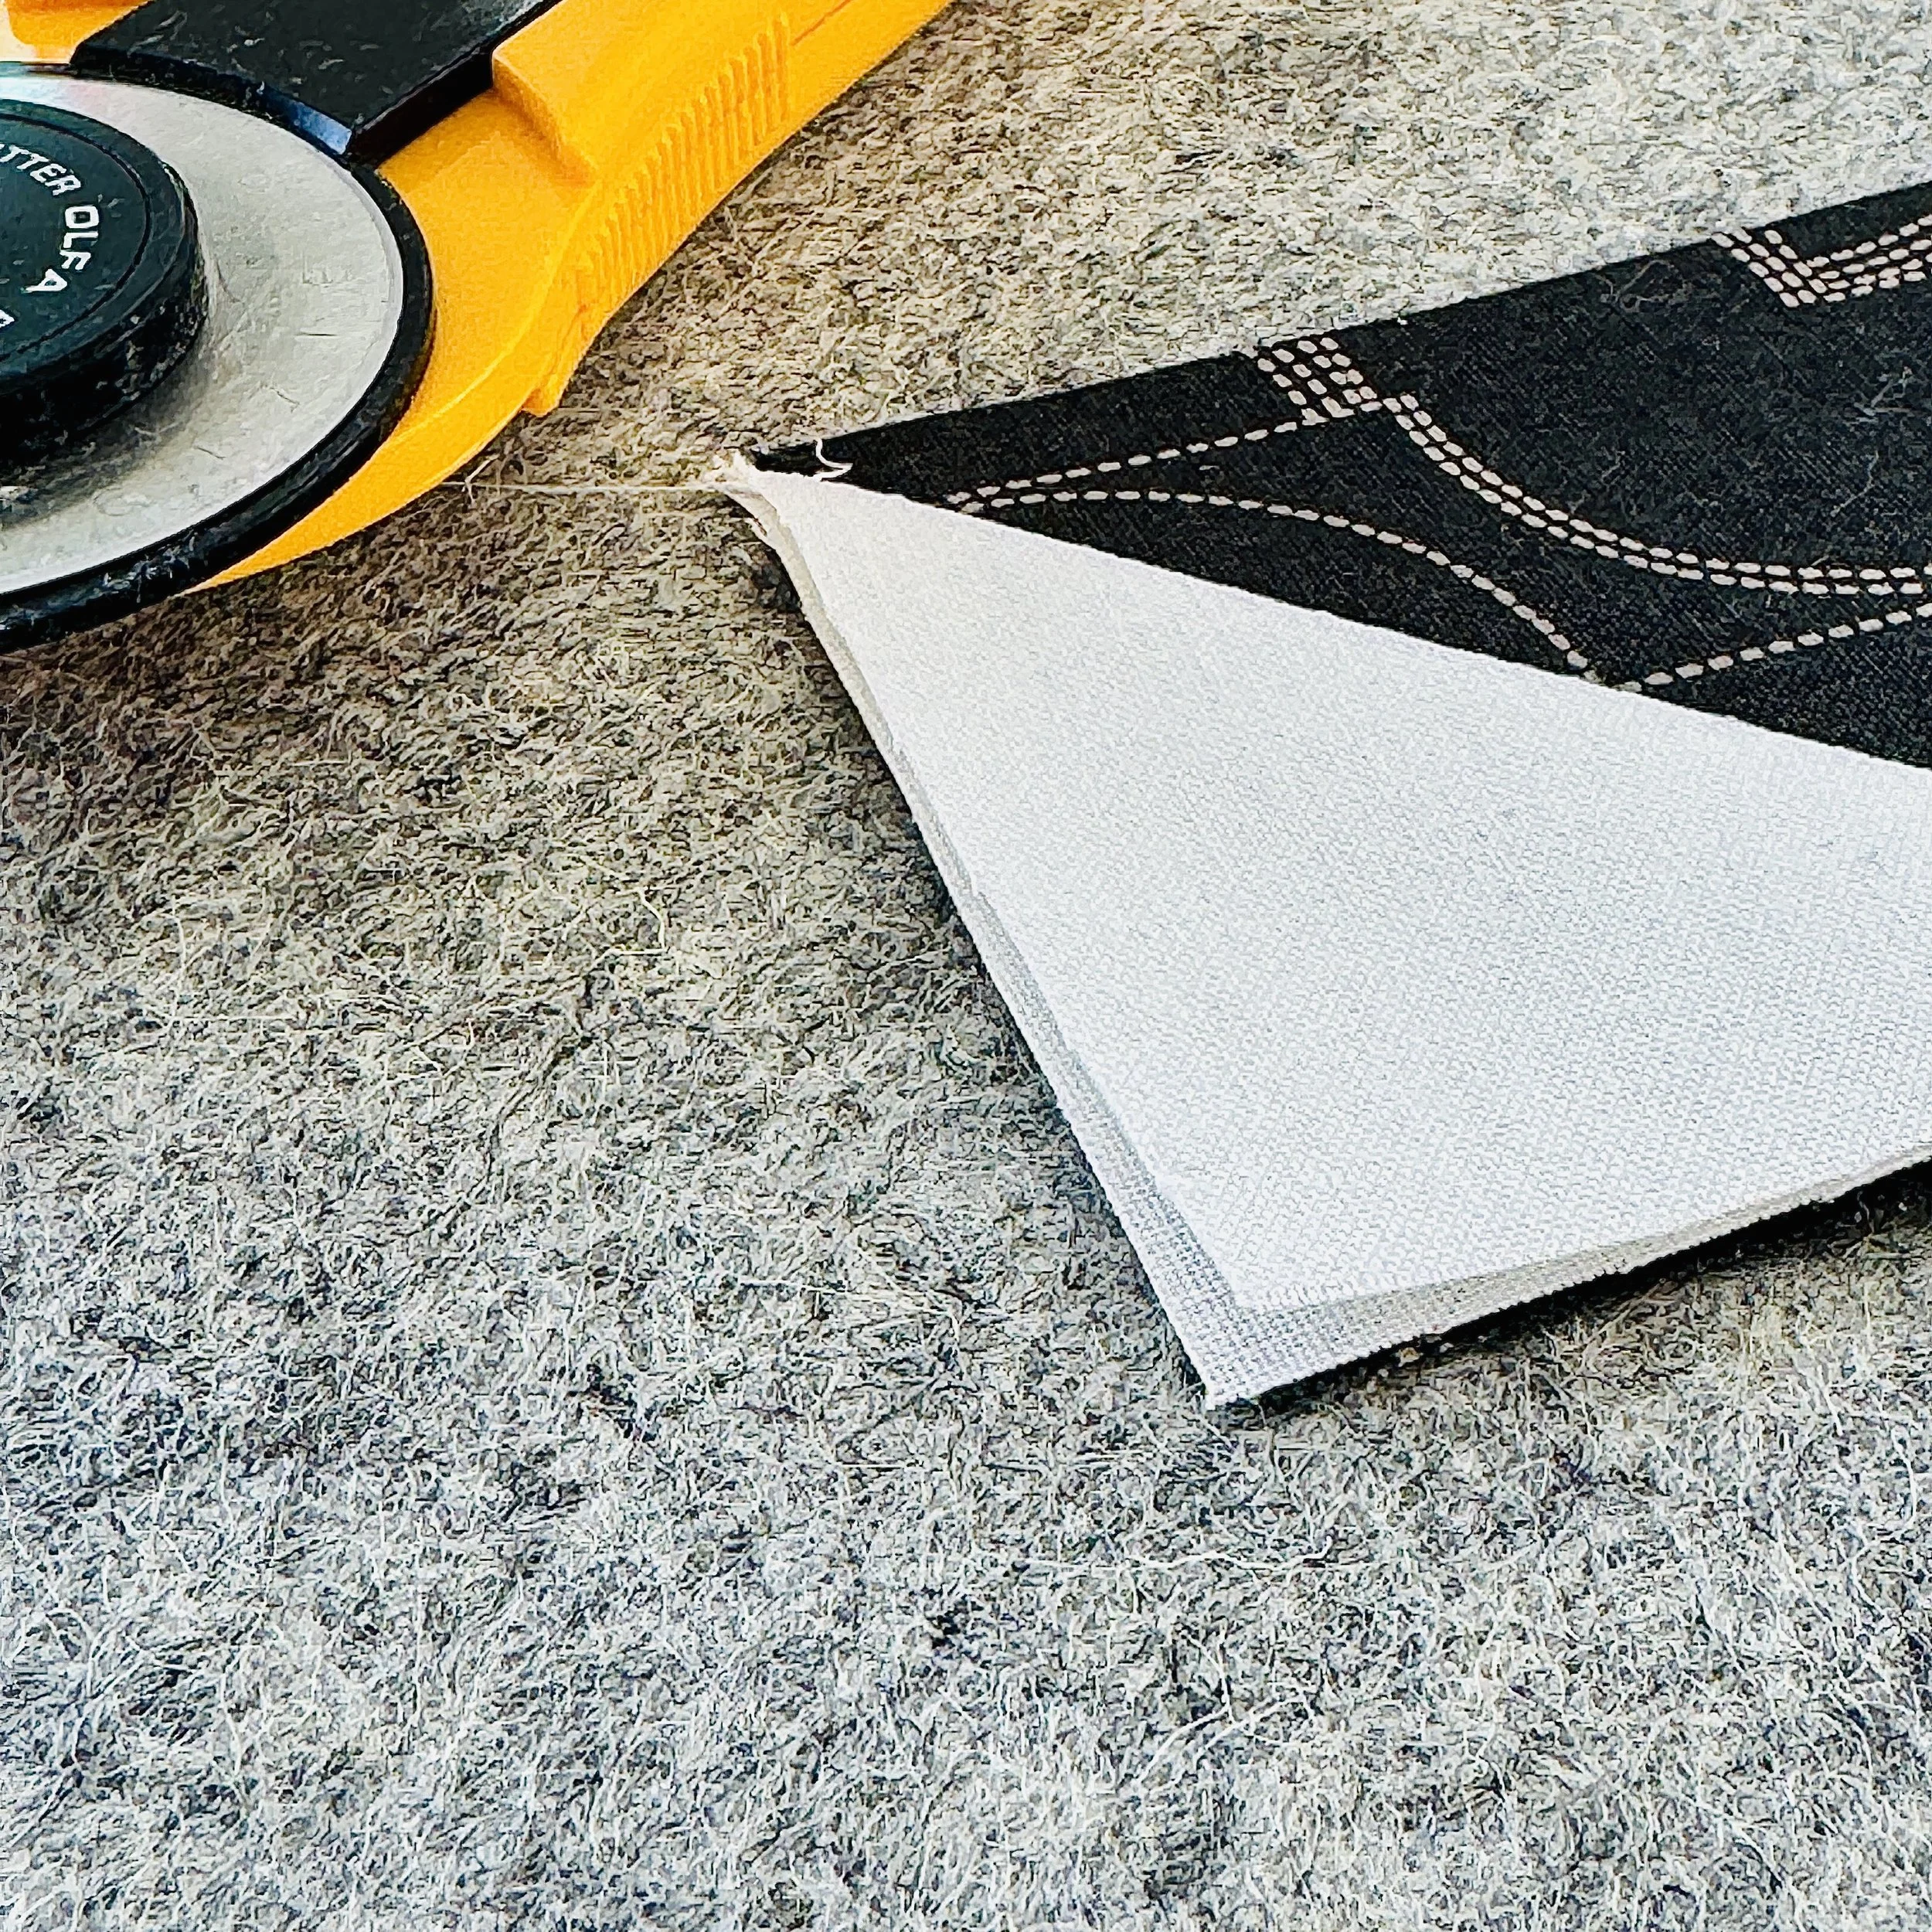
Confession time: who here has made beautiful Flying Geese only to discover their tips have mysteriously vanished? 🙋♀️ It happens to the best of us—usually right before a deadline when your coffee's gone cold! But today? We're keeping those tips sharp and our sanity intact with some no-drama geese wrangling. I'll show you how to choose the perfect method for whatever quilty adventure you're on, and trim like you mean business.
Before we jump into step-by-step instructions, let’s zoom out for a second.
Because choosing a Flying Geese method isn’t about right or wrong.
It’s about what you want to protect:
Your angle
Your finished size
Your speed
Or your sanity when sewing long rows
That’s why you’ll see two slightly different approaches to Flip & Stitch in this post.
One focuses on securing a perfect 45° angle before trimming.
The other focuses on cutting slightly oversized and trimming down to an exact final measurement.
Same construction idea.
Different precision strategy.
And once you understand that difference, choosing becomes easy.
Quick Win: Pick Your Method in 10 Seconds
Sewing a few single units? Use Flip & Stitch with the 45° pressing trick (fast, controlled, no extra trimming).
Working with small units or high-contrast fabrics? Use Flip & Stitch oversized + trim (guaranteed final size).
Sewing long, repeated rows? Use the Paper method (maximum alignment; no wobbly rows).
Batch production? Use 4-at-once (No-Waste) then trim (efficient and tidy).

Let’s take a closer look at the oversized-and-trim approach.
Tool Crush: Why The Wing Clipper Makes Me Swoon
Let's talk about quilty love affairs! The Wing Clipper is basically the speed-dating match of my dreams for taming those oversized Flying Geese. (I like to cut mine with an extra 1/4”. It allows for precise trimming). Those magical diagonal alignment lines make me feel like I've got quilting superpowers—your center point and corners land EXACTLY where they should, every single time! No more "where did my points go?!" It's fast, consistent, and keeps your quilt looking crisp and modern (even if your sewing room looks like fabric tornado hit it... just me? 🙈).

Treat Yourself to the Wing Clipper
Plus, I've got a free Trim Chart + Paper Template waiting for you that might just change your life (or at least save your seam ripper from overuse!).
Trim Like a Pro (Wing Clipper 4-step)
Sew an OVERSIZED unit (about 1/4” more in width and height). (No matter if Flip-and-Stitch or 4-at-once.)
Align the guide lines. Place the Wing Clipper so its diagonal lines sit right on your seam lines; the ruler’s size marks frame your target size (e.g., 2½″ × 4½″ for a 2″ × 4″ finished unit).
Trim right & top edges.
Rotate 180° and realign to the same size marks. Trim the remaining two edges.
Result: a perfectly square, crisp-point unit—with a true ¼″ seam allowance at the tip.

(click on the picture to get your files)
Recap: Which Method When?
Flip-and-Stitch
for those "I just need a few geese" moments or if you use e.g. 5” squares from a Charm Pack like I did in my SKY pattern

Featuring SPOTTED fabrics available through Moda Fabrics. Finished size: 58" x 58". Vibrant colors and diagonal settings give the traditional flying geese pattern a fresh and modern look.
This item is a digital product and no physical product will be sent. Upon checkout, you will be emailed a link to download, save, and print your pattern. Instant download items are not able to be refunded, exchanged, or cancelled.
Paper Method
when you need those rows to behave themselves and fly in formation (looking at you, BREEZE enthusiasts with your perfect points!)


Featuring SIMPLY COZY fabrics available through Moda Fabrics. Finished size: 57" x 73". Experience effortless elegance with the Breeze Quilt pattern.
This item is a digital product and no physical product will be sent. Upon checkout, you will be emailed a link to download, save, and print your pattern. Instant download items are not able to be refunded, exchanged, or canceled.
4-at-once
if you have a lot of similar Flying Geese units that use the same fabrics; pair with the Wing Clipper for a very satisfying result.


Featuring the collection FRISKY available through Moda Fabrics Finished size: 65 "" x 65 ". A new twist on a classic pattern. These" geese "fly in all directions and soon land in your home thanks to basic fabrics and the clever no-waste -flying-geese technique.
This item is a digital product and no physical product will be sent. Upon checkout, you will be emailed a link to download, save, and print your pattern. Instant download items are not able to be refunded, exchanged, or cancelled.
Your 5-Minute "Let's Get This Party Started" Action Plan
Grab that Trim Chart + Paper Strips
Whip up one test unit using your method of choice (yes, just one—we're not crazy people here!)
Trim it to that magical unfinished size on the chart and then take a moment to admire your work. Go ahead—I'll wait while you do a little happy dance around that perfect pointy tip! 💃

FAQ
Why do my tips disappear?
Your seam is a hair wide or the unit wasn’t trimmed square. Sew a true scant ¼″ and trim to the exact unfinished size. The side with the tip should always be facing up when sewing so that you can see exactly where the diagonal seam lines cross and then sew precisely through this intersection point.
Can I use scraps?
Absolutely. Precision comes from trimming, not from matching yardage.
Prewash or not?
Either is fine—just be consistent across fabrics so they behave the same.