

Let's Get Cutting and Labeling
Welcome back to Week 2 of the "THOSE TREES" Quilt Along! I hope you’ve got your fabrics picked out and you're ready to dive in, because this week, we’re all about the cut. It’s time to take those gorgeous fabrics you’ve chosen and slice and dice them into the perfect pieces to bring your "THOSE TREES" quilt to life.
So, where do we start? With your selected fabrics, of course! Grab that background fabric and those lovely prints you’ve chosen for your trees, because we’re going to cut them down to size. But don’t worry—I’ve got you covered with a step-by-step video tutorial below, that will walk you through the entire process. Whether you’re working on the Lap-Size quilt or the Table Runner, we’ll make sure every piece is perfectly prepped and ready to sew.
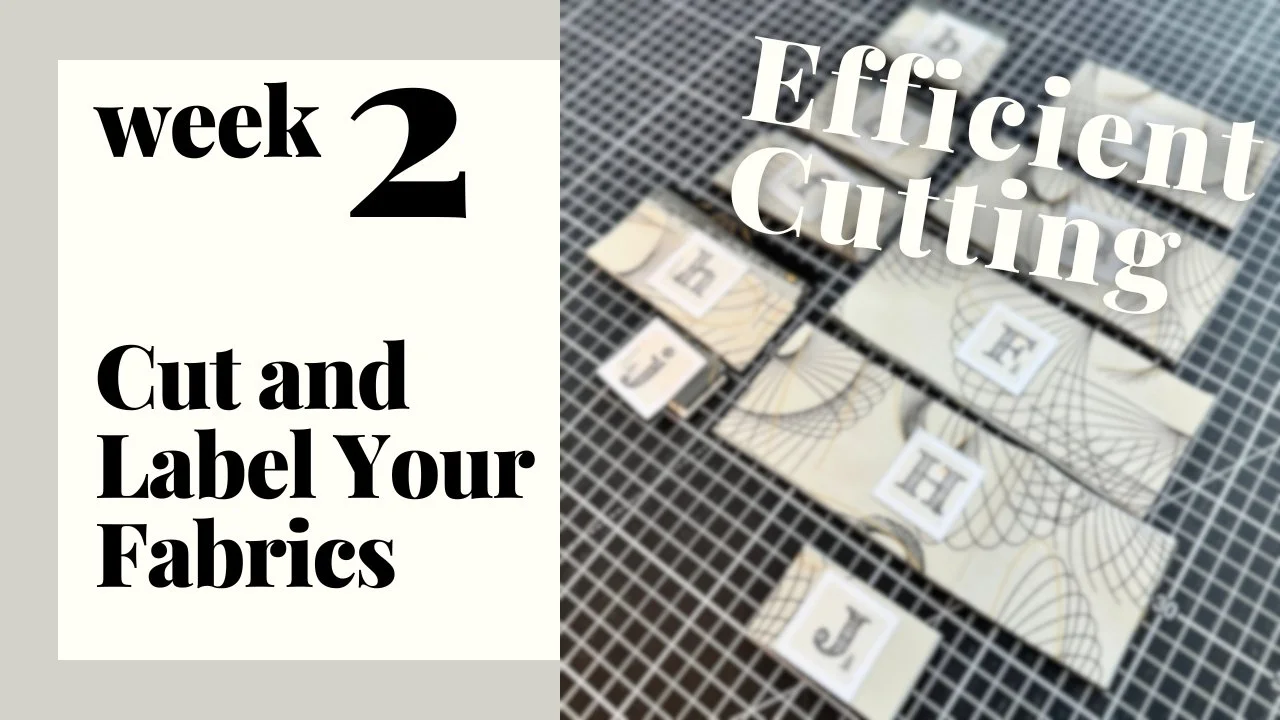
Your Assignment for Week 2: Cut and Label Your Fabric
Here’s a pro tip: keeping your fabric pieces organized is key to a smooth quilting experience. That’s why I’ve created some handy printable labels just for you. We’ve got big letters for the large trees and small letters for the smaller trees—both for the print fabrics and the background pieces. So, each block will have its own set of labels, keeping everything neat and tidy.


Take a few minutes to label each piece as you cut it. Trust me, you’ll thank yourself later when everything’s organized and ready to go.
Remember the Two Size Options
Just a little reminder, because options are always a good thing: you can choose between two sizes for your "THOSE TREES" quilt. Whether you’re going for the cozy Lap-Size or the sleek Table Runner, make sure you’re cutting the right amounts for your chosen project.
